

-
Welcome to Tacoma World!
You are currently viewing as a guest! To get full-access, you need to register for a FREE account.
As a registered member, you’ll be able to:- Participate in all Tacoma discussion topics
- Communicate privately with other Tacoma owners from around the world
- Post your own photos in our Members Gallery
- Access all special features of the site
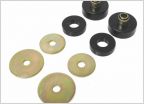 Radiator body mount
 80,000 mile 3.4 piston slap?
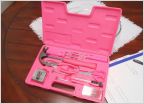 How/where/in what do you store your onboard tools?
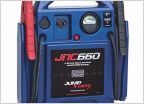 Truck won't start/turn over after wet/cold conditions
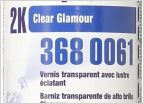 Best place to order color match paint
What smalls do I need to swap a new longblock?
Discussion in '1st Gen. Tacomas (1995-2004)' started by dankgus, Jun 28, 2019.
Page 2 of 7
Page 2 of 7


