

-
Welcome to Tacoma World!
You are currently viewing as a guest! To get full-access, you need to register for a FREE account.
As a registered member, you’ll be able to:- Participate in all Tacoma discussion topics
- Communicate privately with other Tacoma owners from around the world
- Post your own photos in our Members Gallery
- Access all special features of the site
Quick Links: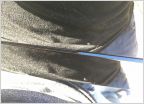 Should New OEM fender flare seal have a gap? Who Makes the Best Vehicle Emergency Assistance Kit? Amsoil in Differential
 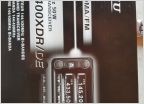 Yaesu FTM-400XDR Install (pic heavy)
 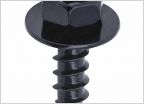 Looking for an Amazon (or other site) link for replacement fender flare/mudflap screws.
  Right turn signal constant on tow connection
Front Camera Install
Discussion in '3rd Gen. Tacomas (2016-2023)' started by tfergieman, Aug 6, 2019.


