

-
Welcome to Tacoma World!
You are currently viewing as a guest! To get full-access, you need to register for a FREE account.
As a registered member, you’ll be able to:- Participate in all Tacoma discussion topics
- Communicate privately with other Tacoma owners from around the world
- Post your own photos in our Members Gallery
- Access all special features of the site
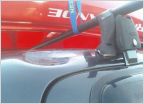 Kayaks and bestops
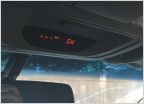 Outside temperature/compass display showing 3 dashes
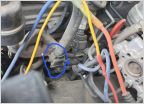 P0174 P0171 Cylinder Misfires on Warm Starts
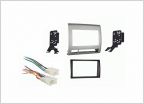 One din or two din system
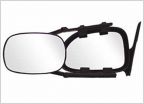 What are the tow mirrors everyone is running
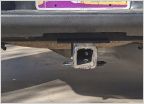 Rear recovery point without tow hitch?
How would you fix this? Rust on fender&bumper
Discussion in '2nd Gen. Tacomas (2005-2015)' started by Jojee117, Sep 17, 2019.


