-
Welcome to Tacoma World!
You are currently viewing as a guest! To get full-access, you need to register for a FREE account.
As a registered member, you’ll be able to:- Participate in all Tacoma discussion topics
- Communicate privately with other Tacoma owners from around the world
- Post your own photos in our Members Gallery
- Access all special features of the site
 Auxiliary switch Wiring and switches.
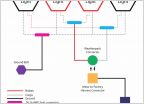 Meso Customs BD4 Third Brake Light Install - A Layman's Guide
 Problem!!
 Euro vs pencil vs cornering beams
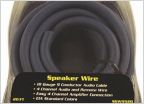
 Running board LED wiring help
 Auxbeam 32” Straight and 42” Curved 5D Series Cree Combo Light Bar Installation And Review
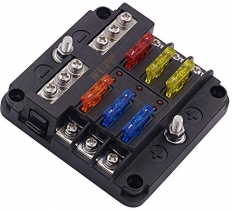
Show off your aux fuse panels.
Discussion in 'Lighting' started by Newlife, Dec 29, 2013.
Page 46 of 95
Page 46 of 95
Products Discussed in