

-
Welcome to Tacoma World!
You are currently viewing as a guest! To get full-access, you need to register for a FREE account.
As a registered member, you’ll be able to:- Participate in all Tacoma discussion topics
- Communicate privately with other Tacoma owners from around the world
- Post your own photos in our Members Gallery
- Access all special features of the site
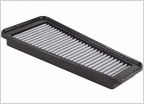 Air Filter Alternatives
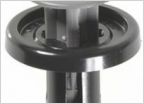 Door panel push in button snap
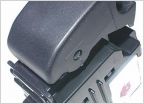 Rear Passenger Window will not move - Replaced motor and switch - still fails - Ideas? - 2014 DCSB
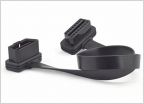 When will Tacoma get bluetooth connectivity?
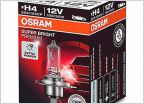 Better headlight bulb than stock?
 Slightly more torque and horse power wanted
2nd Gen Dual Battery with on-board charger
Discussion in '2nd Gen. Tacomas (2005-2015)' started by seafur, Oct 28, 2019.
Products Discussed in


