

-
Welcome to Tacoma World!
You are currently viewing as a guest! To get full-access, you need to register for a FREE account.
As a registered member, you’ll be able to:- Participate in all Tacoma discussion topics
- Communicate privately with other Tacoma owners from around the world
- Post your own photos in our Members Gallery
- Access all special features of the site
 Raptor Lights for 3rd gen TRD Pro
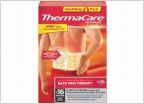 Heating Pad
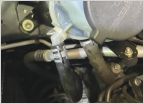 Power steering return line leaking at reservoir
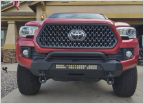 Installing 20 inch RC blackout edition light bar on body armor highlife bumper
 4R TRD PRO RIMS WTF
 Rear End Support for Weight.
On board air with ARB single and bedside cubby mount
Discussion in '3rd Gen. Tacomas (2016-2023)' started by babyruth, Jul 14, 2018.

