

-
Welcome to Tacoma World!
You are currently viewing as a guest! To get full-access, you need to register for a FREE account.
As a registered member, you’ll be able to:- Participate in all Tacoma discussion topics
- Communicate privately with other Tacoma owners from around the world
- Post your own photos in our Members Gallery
- Access all special features of the site
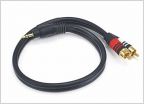 3.5mm stereo jack output to HDMI (audio only in) adapter
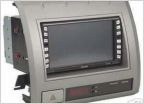 Aloha from Maui...subwoofers for double cab?
 Rear View Camera - Help Me Out...
 3rd Gen Tacoma JBL Premium upgrade options.
 Headunit won't power on, help!
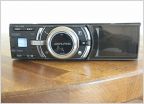 Purchasing aftermarket stereo system, just a few questions!
Kenwood Amateur Radio Install
Discussion in 'Audio & Video' started by xodeuce, Sep 20, 2010.


