

-
Welcome to Tacoma World!
You are currently viewing as a guest! To get full-access, you need to register for a FREE account.
As a registered member, you’ll be able to:- Participate in all Tacoma discussion topics
- Communicate privately with other Tacoma owners from around the world
- Post your own photos in our Members Gallery
- Access all special features of the site
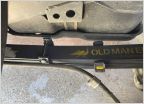 Post Lift Questions
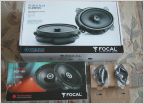 Speaker Upgrade
 2023 Tacoma seat covers
 2017 Tacoma Limited Edition TONNEAU COVER
 2016 Thule Xsporter Pro Multi-Height Aluminum Truck Rack 500XT
Footwell LED (Switch Only)
Discussion in '3rd Gen. Tacomas (2016-2023)' started by GamerAngler, Feb 23, 2020.

