

-
Welcome to Tacoma World!
You are currently viewing as a guest! To get full-access, you need to register for a FREE account.
As a registered member, you’ll be able to:- Participate in all Tacoma discussion topics
- Communicate privately with other Tacoma owners from around the world
- Post your own photos in our Members Gallery
- Access all special features of the site
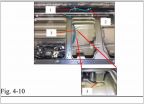 2019 Tailgate Lock - PN: PK3B6-35JS0
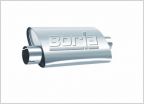 MBRP exhaust
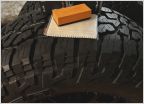 DIY Ceramic Coating
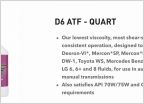 Transmission fluid brand
 Running aftermarket speakers- anyone run into this issue?
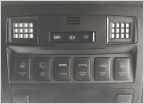 What accessories for 2019 Tacoma
KB Voodoo AluMax Rack Install with Diamondback Cover - Photo Heavy
Discussion in '3rd Gen. Tacomas (2016-2023)' started by Papadave418, Oct 1, 2018.
Page 14 of 16
Page 14 of 16
Products Discussed in


