

-
Welcome to Tacoma World!
You are currently viewing as a guest! To get full-access, you need to register for a FREE account.
As a registered member, you’ll be able to:- Participate in all Tacoma discussion topics
- Communicate privately with other Tacoma owners from around the world
- Post your own photos in our Members Gallery
- Access all special features of the site
 3OEM FULL oil filter sets for $20? Is this real?
 Cabin filter smell...
 Bilstein stock
 Cig Lighter Amp?
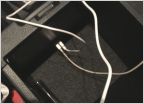 Two USB ports in center console!
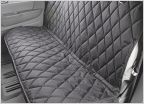 Back of Seat Covers
2020 TRD PRO CLUTCH ACCUMULATOR
Discussion in '3rd Gen. Tacomas (2016-2023)' started by TACOTRDPRO1, Aug 31, 2020.
Page 1 of 2
Page 1 of 2


