

-
Welcome to Tacoma World!
You are currently viewing as a guest! To get full-access, you need to register for a FREE account.
As a registered member, you’ll be able to:- Participate in all Tacoma discussion topics
- Communicate privately with other Tacoma owners from around the world
- Post your own photos in our Members Gallery
- Access all special features of the site
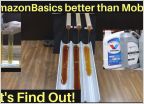 Amazon Basics Oil & Oil Change Intervals
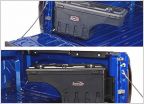 Wheel Well Side Toolbox
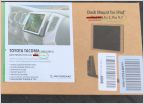 Reviewing the Scosche iPad Dash Mount Kit... Pretty sweet.
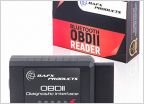 Custom PIDs for torque pro app
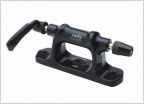 Rocky Mounts Clutch Bed Mount
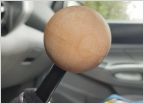 Made a custom wood shift knob: update
Cloudy lens after 3M headlight kit
Discussion in '2nd Gen. Tacomas (2005-2015)' started by Tacoma13_NC, Oct 25, 2020.
Page 3 of 3
Page 3 of 3


