

-
Welcome to Tacoma World!
You are currently viewing as a guest! To get full-access, you need to register for a FREE account.
As a registered member, you’ll be able to:- Participate in all Tacoma discussion topics
- Communicate privately with other Tacoma owners from around the world
- Post your own photos in our Members Gallery
- Access all special features of the site
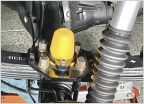 Bumpstops pricing
 How to modify the backup camera to stay on longer or come on when you want it too.
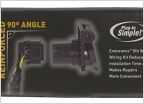 Tail Gate Lights
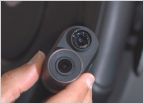 2017 taco dash cam
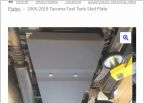 RCI fuel tank skid plate
Improving the Cali Raised roof rack
Discussion in '3rd Gen. Tacomas (2016-2023)' started by goingplacesanddoingstuff, Jan 24, 2021.


