

-
Welcome to Tacoma World!
You are currently viewing as a guest! To get full-access, you need to register for a FREE account.
As a registered member, you’ll be able to:- Participate in all Tacoma discussion topics
- Communicate privately with other Tacoma owners from around the world
- Post your own photos in our Members Gallery
- Access all special features of the site
Quick Links: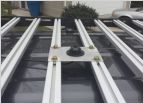 How would I go about making this CB mount for my Prinsu?
 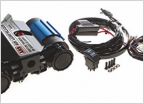 ARB TECH TALK
 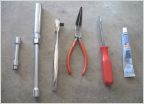 How To - Change Spark Plug 1st Gen 95.5-04 2RZ-FE(2.4L)/3RZ-FE(2.7L)
 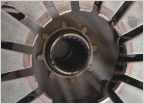 2nd Gen Tacoma Release Bearing (Throw Out Bearing) Destructive Findings and Shift Detent mod.
 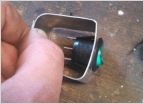 [HOW-TO]: LED Strip Lighting For Roof Top Tent (RTT)
 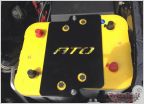 Dual Battery Setups! Let's see them! Multiple Batteries Thread!
Dometic Hardwire Kit Install - In Bed Side Pocket Above Wheel Well - 2nd Gen AC
Discussion in 'Technical Chat' started by Geronimo1111, Mar 23, 2021.
Page 4 of 5
Page 4 of 5
Products Discussed in


