

-
Welcome to Tacoma World!
You are currently viewing as a guest! To get full-access, you need to register for a FREE account.
As a registered member, you’ll be able to:- Participate in all Tacoma discussion topics
- Communicate privately with other Tacoma owners from around the world
- Post your own photos in our Members Gallery
- Access all special features of the site
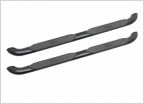 Show me your step rails
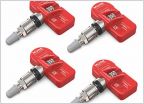 TPMS light flashing then solid, no changes to tires
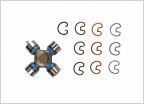 What are the best u joints for 2008 2wd pre-runner
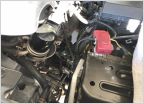 Idler pulleys, tensioner, belt, and alternator replacement
 Emergency access. Proposed magnetic unlock switch mod.
DIY Replacing Driveshaft Center Bearing
Discussion in '2nd Gen. Tacomas (2005-2015)' started by jmanscotch, Oct 18, 2017.
Page 8 of 12
Page 8 of 12


