

-
Welcome to Tacoma World!
You are currently viewing as a guest! To get full-access, you need to register for a FREE account.
As a registered member, you’ll be able to:- Participate in all Tacoma discussion topics
- Communicate privately with other Tacoma owners from around the world
- Post your own photos in our Members Gallery
- Access all special features of the site
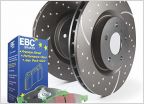 Rear Brakes
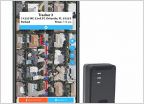 Hidden GPS tracker, what do you have and recommend
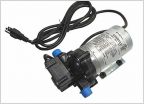 120v Shower/Washdown in Bed
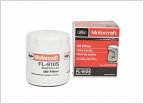 The mystery 90915-YZZG2 oil filter cut open
 Febest tensioner pulley
How to Change a CV Axle on an 01-04 ADD Tacoma
Discussion in 'Technical Chat' started by JimBeam, Dec 15, 2008.
Page 1 of 5
Page 1 of 5


