

-
Welcome to Tacoma World!
You are currently viewing as a guest! To get full-access, you need to register for a FREE account.
As a registered member, you’ll be able to:- Participate in all Tacoma discussion topics
- Communicate privately with other Tacoma owners from around the world
- Post your own photos in our Members Gallery
- Access all special features of the site
 1st gen stereo adapter; now looking for console part (cover)
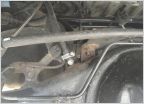 Perpetually leaking axle seals
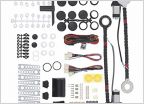 Manual to Power window mod
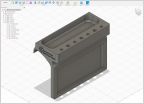 Feeler: Extended Cab Clip-on Rear Window Multi-Purpose Shelf
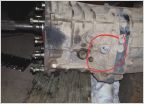 Transmission help!
 Removing stripped head seatbelt bolt
What have you done to your Tacoma today? 1st Gen Edition
Discussion in '1st Gen. Tacomas (1995-2004)' started by SlimDigg, Feb 7, 2011.
Page 10362 of 11226
Page 10362 of 11226
Products Discussed in


