

-
Welcome to Tacoma World!
You are currently viewing as a guest! To get full-access, you need to register for a FREE account.
As a registered member, you’ll be able to:- Participate in all Tacoma discussion topics
- Communicate privately with other Tacoma owners from around the world
- Post your own photos in our Members Gallery
- Access all special features of the site
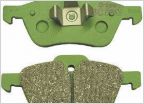 EBC Green Stuff Brake Pads for 6 Lug?
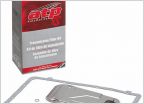 Automatic Transmission Fluid Service.....To do, or NOT to do?
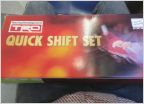 TRD Short-Shifter (Seeking Opinions/Experiences)
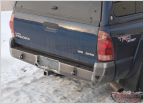 Rear bumper ideas?
 Larger fuel tank
How to Convert 05-11' Tacoma to 12-15' Tacoma
Discussion in '2nd Gen. Tacomas (2005-2015)' started by Smoothoperator, Jul 20, 2022.
Products Discussed in


