

-
Welcome to Tacoma World!
You are currently viewing as a guest! To get full-access, you need to register for a FREE account.
As a registered member, you’ll be able to:- Participate in all Tacoma discussion topics
- Communicate privately with other Tacoma owners from around the world
- Post your own photos in our Members Gallery
- Access all special features of the site
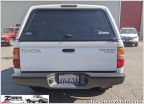 1st gen Tacoma SnugTop parts
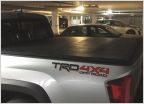 Tri-fold cover deals?
 DIY Aluminum Hardside Popup Camper
 Camper shell and dogs
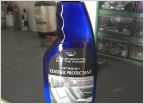 Best protectant for factory tonneau cover
 Mounting bike w/ Tonneau cover
The Official Unofficial Super Pacific X1 Camper Thread
Discussion in 'Tonneau Covers, Caps and Shells' started by Synergy001, Jun 28, 2020.
Page 350 of 390
Page 350 of 390
Products Discussed in


