-
Welcome to Tacoma World!
You are currently viewing as a guest! To get full-access, you need to register for a FREE account.
As a registered member, you’ll be able to:- Participate in all Tacoma discussion topics
- Communicate privately with other Tacoma owners from around the world
- Post your own photos in our Members Gallery
- Access all special features of the site
 Interior LED bulb package
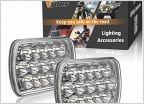 15 LED 7x6 Headlights - No high beams
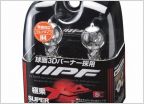 Brightest, clearest, focused headlight bulb upgrade?!
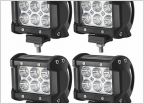 Relay or no relay?
 No flash on door lock after flasher relay replacement
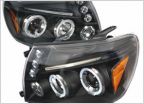 Any input on these
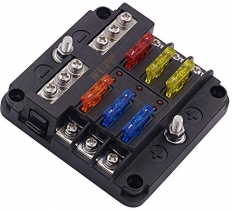
Show off your aux fuse panels.
Discussion in 'Lighting' started by Newlife, Dec 29, 2013.
Page 90 of 95
Page 90 of 95
Products Discussed in