

-
Welcome to Tacoma World!
You are currently viewing as a guest! To get full-access, you need to register for a FREE account.
As a registered member, you’ll be able to:- Participate in all Tacoma discussion topics
- Communicate privately with other Tacoma owners from around the world
- Post your own photos in our Members Gallery
- Access all special features of the site
 Flares for a Reg Cab?
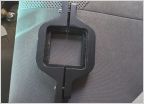 Help unknown thing I found
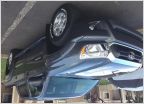 Very first Tacoma...now what can I do with it first?
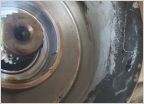 Damaged the extension housing removing the seal
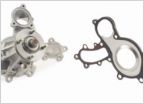 Water pump, oil cooler hose bad
 Pop and Lock Tailgate Lock Questions
When replacing hub/bearing assembly..
Discussion in '2nd Gen. Tacomas (2005-2015)' started by Cbirzes, Mar 23, 2024.
Page 1 of 2
Page 1 of 2


