

-
Welcome to Tacoma World!
You are currently viewing as a guest! To get full-access, you need to register for a FREE account.
As a registered member, you’ll be able to:- Participate in all Tacoma discussion topics
- Communicate privately with other Tacoma owners from around the world
- Post your own photos in our Members Gallery
- Access all special features of the site
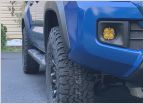 Feeling Unstable
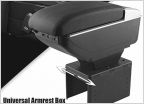 Rear seat with foldable armrest.
 Waterproof wire entry into bed floor
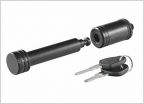 Anyone know of a good hitch locking pin for our trucks?
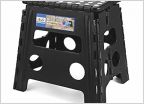 Best Step Stool for Getting into Truck Bed
 First Week with My New Tacoma Sport and Which Fumoto Drain Valve Should I Buy?
Archive Garage Hammer Hanger Install Tips
Discussion in '3rd Gen. Tacomas (2016-2023)' started by Agilbert2112, Apr 30, 2024.


