

-
Welcome to Tacoma World!
You are currently viewing as a guest! To get full-access, you need to register for a FREE account.
As a registered member, you’ll be able to:- Participate in all Tacoma discussion topics
- Communicate privately with other Tacoma owners from around the world
- Post your own photos in our Members Gallery
- Access all special features of the site
 Battery Upgrade and Electrical Power Supply Stuff
 D-4s v6 Oil Filter Tool
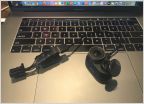 Well that was an easy dash cam install.
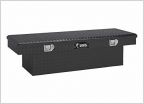 Tool Box Recomendation
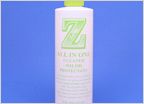 Best wax to use on Silver 3rd Gen?
Bed Stiffener paint prep
Discussion in '3rd Gen. Tacomas (2016-2023)' started by 17taconut, May 15, 2024.


