

-
Welcome to Tacoma World!
You are currently viewing as a guest! To get full-access, you need to register for a FREE account.
As a registered member, you’ll be able to:- Participate in all Tacoma discussion topics
- Communicate privately with other Tacoma owners from around the world
- Post your own photos in our Members Gallery
- Access all special features of the site
 Best way to address Tacoma lean?
 Oil and coolant mess! 200k miles
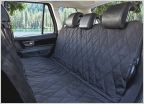 Dog seat canopy?
 TPMS Issue
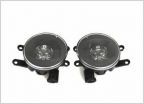 Fog lights
 Positive Battery Terminal Repair
bjmoose asks "why is that damn bench seat so uncomfortable?"
Discussion in '2nd Gen. Tacomas (2005-2015)' started by bjmoose, Apr 6, 2011.


