

-
Welcome to Tacoma World!
You are currently viewing as a guest! To get full-access, you need to register for a FREE account.
As a registered member, you’ll be able to:- Participate in all Tacoma discussion topics
- Communicate privately with other Tacoma owners from around the world
- Post your own photos in our Members Gallery
- Access all special features of the site
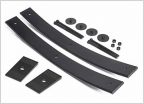 Heavy Metal Suspensions AAL
 Grease gun holder bed rail attachment?
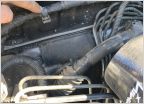 Anyone know how to remove or loosen this cable tie doohickey?
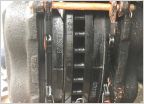 Aftermarket Rotors
 What can I expect out of my 05 off-road?
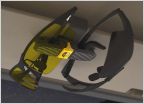 Sunglass Clips for Fat A** Sun Visors???
DIY Center Storage Console Divider
Discussion in '2nd Gen. Tacomas (2005-2015)' started by wombat, May 21, 2011.


