

-
Welcome to Tacoma World!
You are currently viewing as a guest! To get full-access, you need to register for a FREE account.
As a registered member, you’ll be able to:- Participate in all Tacoma discussion topics
- Communicate privately with other Tacoma owners from around the world
- Post your own photos in our Members Gallery
- Access all special features of the site
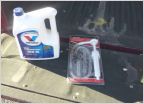 Rear differential oil change - '04 Prerunner
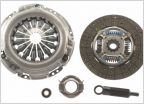 Too many clutches!
 How Do I Get Rid of the "Products Discussed" Crap at the Bottom of the Page?
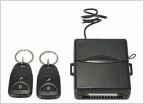 96taco power door locks
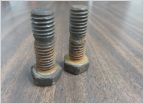 Zinc Plating OEM hardware
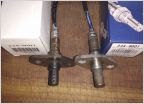 Spot the FAKE
Whats the best tool to move the c clamp on 5100 front strut
Discussion in '1st Gen. Tacomas (1995-2004)' started by Madams, Jun 15, 2011.


