

-
Welcome to Tacoma World!
You are currently viewing as a guest! To get full-access, you need to register for a FREE account.
As a registered member, you’ll be able to:- Participate in all Tacoma discussion topics
- Communicate privately with other Tacoma owners from around the world
- Post your own photos in our Members Gallery
- Access all special features of the site
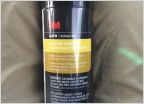 Debadge with 3M ?
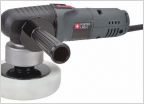 Polisher and buffer
 Meguires ULW and TW Ice Spray Wax
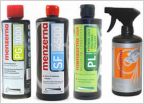 How often do you wax?
 Feedback on two new products: Mother's speed clay and Hydrosilex
THE PLASTI-DIP MEGA THREAD!!!!!!
Discussion in 'Detailing' started by mmtaco06, Aug 10, 2010.
Page 95 of 301
Page 95 of 301

