

-
Welcome to Tacoma World!
You are currently viewing as a guest! To get full-access, you need to register for a FREE account.
As a registered member, you’ll be able to:- Participate in all Tacoma discussion topics
- Communicate privately with other Tacoma owners from around the world
- Post your own photos in our Members Gallery
- Access all special features of the site
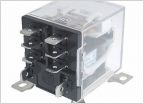 Wiring lights to turn on with truck, but turn off with hi beams
 Dashboard rattle
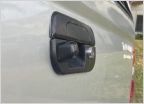 Clean back-up camera install for 1st gen Tacomas
 2003 Toyota Tacoma crew cab deluxe sr5
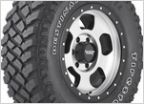 Tires/Lift from Les Schwab
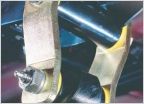 UCA options
Window Trim Mod/Fix
Discussion in '1st Gen. Tacomas (1995-2004)' started by onesixseven, Sep 14, 2011.


