

-
Welcome to Tacoma World!
You are currently viewing as a guest! To get full-access, you need to register for a FREE account.
As a registered member, you’ll be able to:- Participate in all Tacoma discussion topics
- Communicate privately with other Tacoma owners from around the world
- Post your own photos in our Members Gallery
- Access all special features of the site
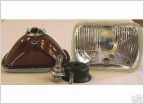 Best 7x6 headlight housing for Taco 97"?
 Aux Light Switches
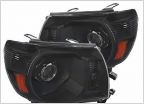 Spec D Headlights
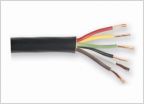 Multi conductor wiring for rooftop lighting...
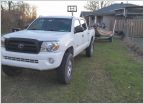 Off brand factory headlights (05-11)
A Retro Project for rhewins13
Discussion in 'Lighting' started by Muy Grande, Oct 21, 2011.
Page 1 of 2
Page 1 of 2


