

-
Welcome to Tacoma World!
You are currently viewing as a guest! To get full-access, you need to register for a FREE account.
As a registered member, you’ll be able to:- Participate in all Tacoma discussion topics
- Communicate privately with other Tacoma owners from around the world
- Post your own photos in our Members Gallery
- Access all special features of the site
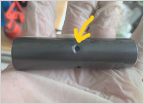 Greaseable Shackle Bolts
 LCA Replacement Options
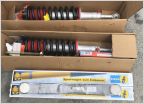 3rd gen Rancho Loaded quickLIFT RS999915 on 285 70 17
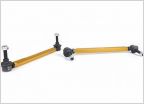 Need Sway Bar Links....
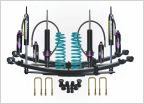 Dobinsons MRR Suspension Kit - Guidance Needed
problem installing lifted struts
Discussion in 'Suspension' started by B ryan, Nov 5, 2011.


