

-
Welcome to Tacoma World!
You are currently viewing as a guest! To get full-access, you need to register for a FREE account.
As a registered member, you’ll be able to:- Participate in all Tacoma discussion topics
- Communicate privately with other Tacoma owners from around the world
- Post your own photos in our Members Gallery
- Access all special features of the site
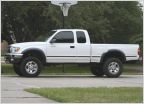 Dead Paint
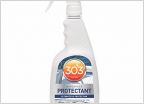 Bring back my black
 Cleaning of hard to get windows.
 RO water with pressure washer
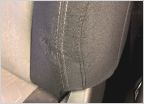 Seatbelt rubbing thru on seat
 Buying a porter cable 7424
THE PLASTI-DIP MEGA THREAD!!!!!!
Discussion in 'Detailing' started by mmtaco06, Aug 10, 2010.
Page 111 of 301
Page 111 of 301

