

-
Welcome to Tacoma World!
You are currently viewing as a guest! To get full-access, you need to register for a FREE account.
As a registered member, you’ll be able to:- Participate in all Tacoma discussion topics
- Communicate privately with other Tacoma owners from around the world
- Post your own photos in our Members Gallery
- Access all special features of the site
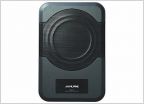 Best place to purchase OEM Audio 450Q
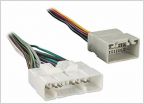 The elusive jbl amp wiring diagram
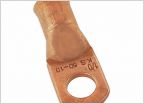 Looking for some heavy duty 1/0 gauge terminals
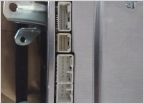 2012 Tacoma detailed audio wiring identification
 Factory head unit swap?
 Kicker key: bi-amp vs 4-channel
AVIC-Z130BT Installation Thoughts on a 2010 Taco
Discussion in 'Audio & Video' started by tomsyota, May 16, 2011.
Page 1 of 2
Page 1 of 2

