

-
Welcome to Tacoma World!
You are currently viewing as a guest! To get full-access, you need to register for a FREE account.
As a registered member, you’ll be able to:- Participate in all Tacoma discussion topics
- Communicate privately with other Tacoma owners from around the world
- Post your own photos in our Members Gallery
- Access all special features of the site
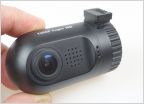 Anyone experience with Dash Cams?
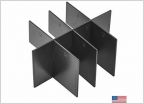 Top 25 Mods Under $300 (Recommendations PLEASE)
 Fluid pump suggestions for REDLINE quart bottles
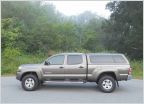 Best Tires for Highway driving
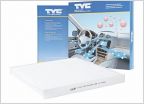 Cabin air filters
 AC fan broken, passenger floor damp
Toolbox LEDs on lid open write up.
Discussion in '2nd Gen. Tacomas (2005-2015)' started by Large, Nov 26, 2011.


