

-
Welcome to Tacoma World!
You are currently viewing as a guest! To get full-access, you need to register for a FREE account.
As a registered member, you’ll be able to:- Participate in all Tacoma discussion topics
- Communicate privately with other Tacoma owners from around the world
- Post your own photos in our Members Gallery
- Access all special features of the site
 What mattresses or pads are you using on your bed platforms?
 How to depin this connector?
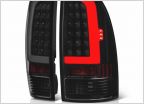 VIPMotoZ 2005-2015 Toyota Tacoma OLED Neon Tube Tail Lights
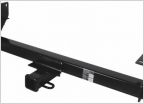 What easy upgrades for a 2013 base?
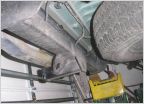 Trailer hitch
 Bikes and Roof Top Tents
My Satoshi Grill write-up
Discussion in '2nd Gen. Tacomas (2005-2015)' started by FlawedXJ, Mar 2, 2009.
Page 1 of 18
Page 1 of 18


