

-
Welcome to Tacoma World!
You are currently viewing as a guest! To get full-access, you need to register for a FREE account.
As a registered member, you’ll be able to:- Participate in all Tacoma discussion topics
- Communicate privately with other Tacoma owners from around the world
- Post your own photos in our Members Gallery
- Access all special features of the site
 Spline Lugs TRD Beadlocks
 TPMS Sensor Question
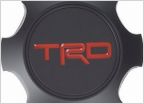 Possible to remove the logo on PTR20-35111-BK center caps?
 Fifteen52 Turbomac HD *Photo Thread*
 Halp! Trying to thread a needle...
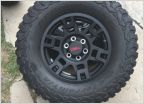 17" sema wheels!
Painted stock steelies black
Discussion in 'Wheels & Tires' started by ATweezy, Jan 22, 2012.


