

-
Welcome to Tacoma World!
You are currently viewing as a guest! To get full-access, you need to register for a FREE account.
As a registered member, you’ll be able to:- Participate in all Tacoma discussion topics
- Communicate privately with other Tacoma owners from around the world
- Post your own photos in our Members Gallery
- Access all special features of the site
 Solved! - Identifying Plumbing Fittings for Water Tank for my Rig
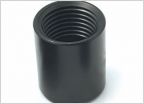 Last Ditch Effort Lug Nut Remover Worth it’s Weight!
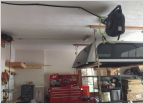 How Do You Store Your Cap/Topper?
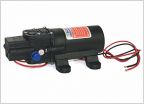
 Power Washer Guide?
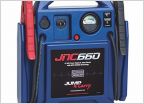 Portable Jump Starters
 Automated Dust Collection
Figured I would start my own thread on this
Discussion in 'Garage / Workshop' started by kris77, Jan 12, 2012.
Page 1 of 2
Page 1 of 2


