

-
Welcome to Tacoma World!
You are currently viewing as a guest! To get full-access, you need to register for a FREE account.
As a registered member, you’ll be able to:- Participate in all Tacoma discussion topics
- Communicate privately with other Tacoma owners from around the world
- Post your own photos in our Members Gallery
- Access all special features of the site
 10mm socket
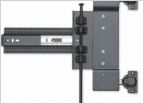 Looking for pivot and slide door hinge?
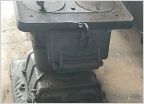 ISO: The right shop heater: Christmas gift
 Impact sockets or not...
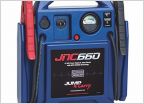 Portable Jump Starters
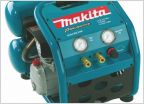 Recommendation for Air Compressor
My Ongoing Remodel Thread or possibly "My Descent into a Hellish Nightmare"
Discussion in 'Garage / Workshop' started by JaSkynyrd, Jun 28, 2011.
Page 2 of 5
Page 2 of 5


