

-
Welcome to Tacoma World!
You are currently viewing as a guest! To get full-access, you need to register for a FREE account.
As a registered member, you’ll be able to:- Participate in all Tacoma discussion topics
- Communicate privately with other Tacoma owners from around the world
- Post your own photos in our Members Gallery
- Access all special features of the site
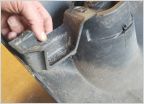 Plastic Bumper Repair Options
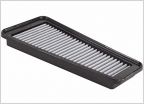 AFe Pro-Dry S Air Filter for 2010 v6?
 Another transfer and diff fluid change question....
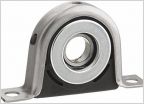 Has anyone used a ford center support carrier bearing
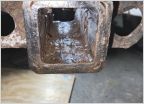 Replacing Hitch Receiver??
Pop and Lock PL8521 Power Tailgate Install (2012 Tacoma)
Discussion in '2nd Gen. Tacomas (2005-2015)' started by JTyfz450, Apr 13, 2012.
Page 4 of 26
Page 4 of 26
Products Discussed in


