

-
Welcome to Tacoma World!
You are currently viewing as a guest! To get full-access, you need to register for a FREE account.
As a registered member, you’ll be able to:- Participate in all Tacoma discussion topics
- Communicate privately with other Tacoma owners from around the world
- Post your own photos in our Members Gallery
- Access all special features of the site
 GMRS/ VHF/ HAM/ CB Radios
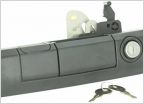 Locking the tailgate
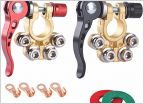 Positive Battery Terminal Repair
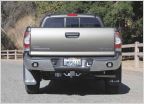 How to wire aux lights?
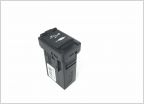 USB under the AC controls - 86190-0R010 - Will this work
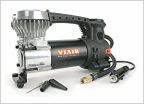 A compact, portable, storable compressor for OEM size tires?
Aftermarket radio - using stock camera
Discussion in '2nd Gen. Tacomas (2005-2015)' started by ibjames, Aug 22, 2012.


