

-
Welcome to Tacoma World!
You are currently viewing as a guest! To get full-access, you need to register for a FREE account.
As a registered member, you’ll be able to:- Participate in all Tacoma discussion topics
- Communicate privately with other Tacoma owners from around the world
- Post your own photos in our Members Gallery
- Access all special features of the site
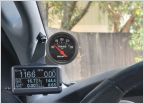 Modular Gauge Mount System
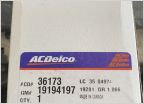 4.0 Belt Tensioner Pulley
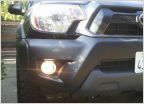 My New OEM Fog Light Install
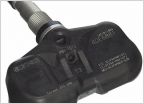 Low Tire Pressure Light not turning off
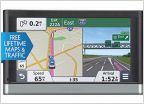 2013 Nav map updates - Are we screwed??
 CV Axle Replace or Reboot-Need Opinion
'Redneck" lower control arm - LCA Bushing Press
Discussion in '2nd Gen. Tacomas (2005-2015)' started by TacoBow, Jan 19, 2011.
Page 1 of 4
Page 1 of 4


