

-
Welcome to Tacoma World!
You are currently viewing as a guest! To get full-access, you need to register for a FREE account.
As a registered member, you’ll be able to:- Participate in all Tacoma discussion topics
- Communicate privately with other Tacoma owners from around the world
- Post your own photos in our Members Gallery
- Access all special features of the site
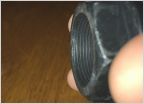 Replacing Bearing/Hub - need a sander for cleaning surfaces?
 Gun safe for center console
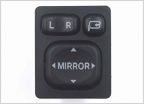 11’ turn signal side mirror
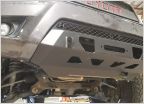 Relentless Fabrication Stingray Lower Winch Bumper
 Change switch color
 $9 Fender flare mod + $1 fuel door carbon fiber wrap!
DIY: OEM tailgate camera in pre '09 taco. LOTS OF PICS
Discussion in '2nd Gen. Tacomas (2005-2015)' started by MJonaGS32, Apr 25, 2011.
Page 1 of 2
Page 1 of 2


