

-
Welcome to Tacoma World!
You are currently viewing as a guest! To get full-access, you need to register for a FREE account.
As a registered member, you’ll be able to:- Participate in all Tacoma discussion topics
- Communicate privately with other Tacoma owners from around the world
- Post your own photos in our Members Gallery
- Access all special features of the site
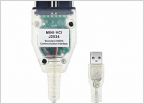 06 abs bleed tech stream?
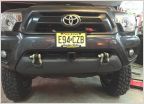 My Winch Cradle Setup
 Rear leaf springs are squeaking...
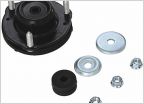 Looking for strut top hat
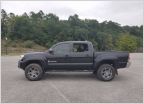 2" lift Recomendations
 This is why you need to replace your VVT screens
Finally finished my Bed Lights Project. Here's a lengthy "how to" post-
Discussion in '2nd Gen. Tacomas (2005-2015)' started by Av8er, Dec 11, 2012.
Page 1 of 5
Page 1 of 5


