

-
Welcome to Tacoma World!
You are currently viewing as a guest! To get full-access, you need to register for a FREE account.
As a registered member, you’ll be able to:- Participate in all Tacoma discussion topics
- Communicate privately with other Tacoma owners from around the world
- Post your own photos in our Members Gallery
- Access all special features of the site
 2.5 Gen Taco, SiriusXM Antenna Connection Confusion.
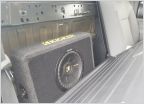 Amp Recommendation for 2017 SR5 Access Cab-I'm clueless??
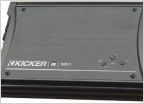 Loaded Kicker Sub box!
 Clarus or Genuine Subaru for Tweeters?
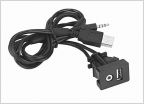 Any other wiring harness needed?
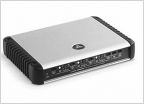 Radio questions need clarifications
How to Install a Viper 5704 Alarm/ Remote Start
Discussion in 'Audio & Video' started by Riverdog, Dec 6, 2012.
Page 2 of 21
Page 2 of 21
Products Discussed in


