

-
Welcome to Tacoma World!
You are currently viewing as a guest! To get full-access, you need to register for a FREE account.
As a registered member, you’ll be able to:- Participate in all Tacoma discussion topics
- Communicate privately with other Tacoma owners from around the world
- Post your own photos in our Members Gallery
- Access all special features of the site
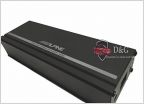 Speaker only upgrade
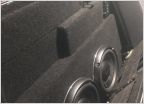 Adding a second Sub
 Component speaker install
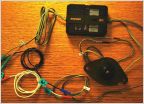 Hope this helps anyone installing
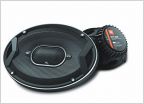 JBL GTO939 fit 2019 front doors
Stereo Upgrade BASIC How To... (2nd Gen)
Discussion in 'Audio & Video' started by 007Tacoma, Jan 11, 2007.
Page 15 of 21
Page 15 of 21
Products Discussed in


