

-
Welcome to Tacoma World!
You are currently viewing as a guest! To get full-access, you need to register for a FREE account.
As a registered member, you’ll be able to:- Participate in all Tacoma discussion topics
- Communicate privately with other Tacoma owners from around the world
- Post your own photos in our Members Gallery
- Access all special features of the site
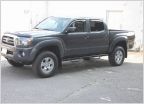 Washed, clayed, waxed
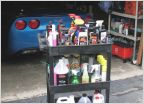 Got the Detailing itch
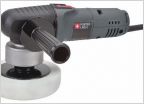 Buffers,
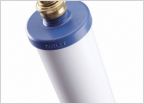 Battle the water spots?
 Aerospace 303
 Wrap Armour anti glare hood stamp long term care
Meguiar's Headlight Restoration kit Review.
Discussion in 'Detailing' started by Kavik, Mar 15, 2012.


