

-
Welcome to Tacoma World!
You are currently viewing as a guest! To get full-access, you need to register for a FREE account.
As a registered member, you’ll be able to:- Participate in all Tacoma discussion topics
- Communicate privately with other Tacoma owners from around the world
- Post your own photos in our Members Gallery
- Access all special features of the site
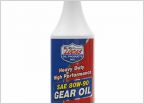 Rear Diff Fluid Change
 Need help - Who is handy with a tape measure?
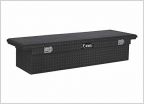 Black Low-Profile tool box
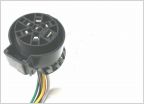 Trailer tail lights stopped working. Connector is broken! How to fix?
 Restoring trim
 06 manual third gear grind
DIY: How To Replace An Output Shaft Seal
Discussion in '2nd Gen. Tacomas (2005-2015)' started by NorCalTRD, Mar 26, 2013.
Page 1 of 6
Page 1 of 6


