

-
Welcome to Tacoma World!
You are currently viewing as a guest! To get full-access, you need to register for a FREE account.
As a registered member, you’ll be able to:- Participate in all Tacoma discussion topics
- Communicate privately with other Tacoma owners from around the world
- Post your own photos in our Members Gallery
- Access all special features of the site
Quick Links: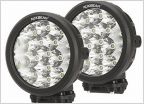 Auxbeam 2 Pcs 7" Round Cree LED Driving Light Bumper Offroad 80w 8000lm Combo beams
 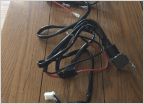 Relay Wiring harness for auxiliary lights and more
 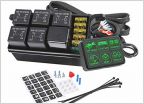 Cheap Switch Panels and Perfecting my Light Game
  KC | Rear Facing LED Tail-light Bar
 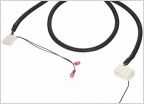 2013 4cyl Prerunnner w/ SR5
  Where Can I find these wiring harness Connectors?
Lightforce HID Conversion (w/ Pics)
Discussion in 'Lighting' started by TuRDVan, Jun 12, 2009.


