

-
Welcome to Tacoma World!
You are currently viewing as a guest! To get full-access, you need to register for a FREE account.
As a registered member, you’ll be able to:- Participate in all Tacoma discussion topics
- Communicate privately with other Tacoma owners from around the world
- Post your own photos in our Members Gallery
- Access all special features of the site
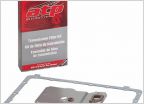 Dex III or T-IV transmission fluid for a 2000 2.7L
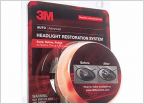 Headlight Restoring and Leaf Spring Opinions
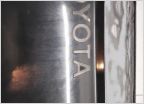 UP-ARMOURING TACO SHELL - TOYODER EMBLEM HELP
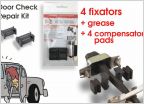 Doors won't stay open...anyone tried this??
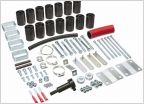 98 body lift
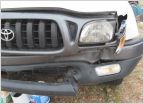 Front end wreck. Bumper pushed in. Need advice on how to get it back on the road.
Homemade Crank Pulley Tool
Discussion in '1st Gen. Tacomas (1995-2004)' started by BadBrains, Feb 17, 2011.
Page 2 of 5
Page 2 of 5

