

-
Welcome to Tacoma World!
You are currently viewing as a guest! To get full-access, you need to register for a FREE account.
As a registered member, you’ll be able to:- Participate in all Tacoma discussion topics
- Communicate privately with other Tacoma owners from around the world
- Post your own photos in our Members Gallery
- Access all special features of the site
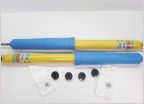 Shock replacement for 2009
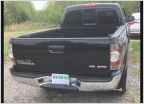 Painting 2nd Gen fender flares
 Replacing rear leafs
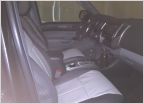 SEAT COVERS
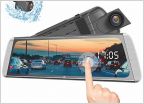 Added GPS 4 Cameras Remote Start Alarm Aux and USB to my 2008
 Starter solinoid repair kit (finding the right model)
Air/Fuel Ratio Sensor replacement
Discussion in '2nd Gen. Tacomas (2005-2015)' started by faller, Mar 17, 2014.


