

-
Welcome to Tacoma World!
You are currently viewing as a guest! To get full-access, you need to register for a FREE account.
As a registered member, you’ll be able to:- Participate in all Tacoma discussion topics
- Communicate privately with other Tacoma owners from around the world
- Post your own photos in our Members Gallery
- Access all special features of the site
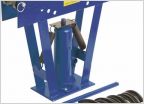 Good enough tubing bender?
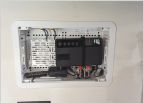 Bump in the...garage
 JIS Screwdriver Set Recommendations
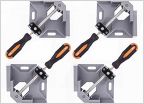 DIY Bookshelves
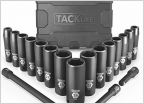 What're you people using for a socket set?
 Milwaukee 1/2" Impact Wrench
Home Improvement Today?
Discussion in 'Garage / Workshop' started by Hotdog, Jul 28, 2008.
Page 110 of 1807
Page 110 of 1807
Products Discussed in


