

-
Welcome to Tacoma World!
You are currently viewing as a guest! To get full-access, you need to register for a FREE account.
As a registered member, you’ll be able to:- Participate in all Tacoma discussion topics
- Communicate privately with other Tacoma owners from around the world
- Post your own photos in our Members Gallery
- Access all special features of the site
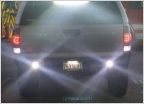 What is everyone running for LED backup lighting?
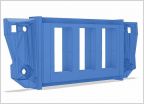 Ditch Lights Wiring
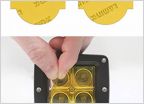 Anyone have experience with Lamin-X film?
 Adding foglights
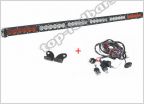 Age Old Lightbar Question
 Spyder Smoked Halogen Lights
Engine Bay LED Install
Discussion in 'Lighting' started by Benson X, Sep 16, 2012.
Page 1 of 2
Page 1 of 2

